Photoshop Tutorial: Using Textures in Portraits & Fine Art

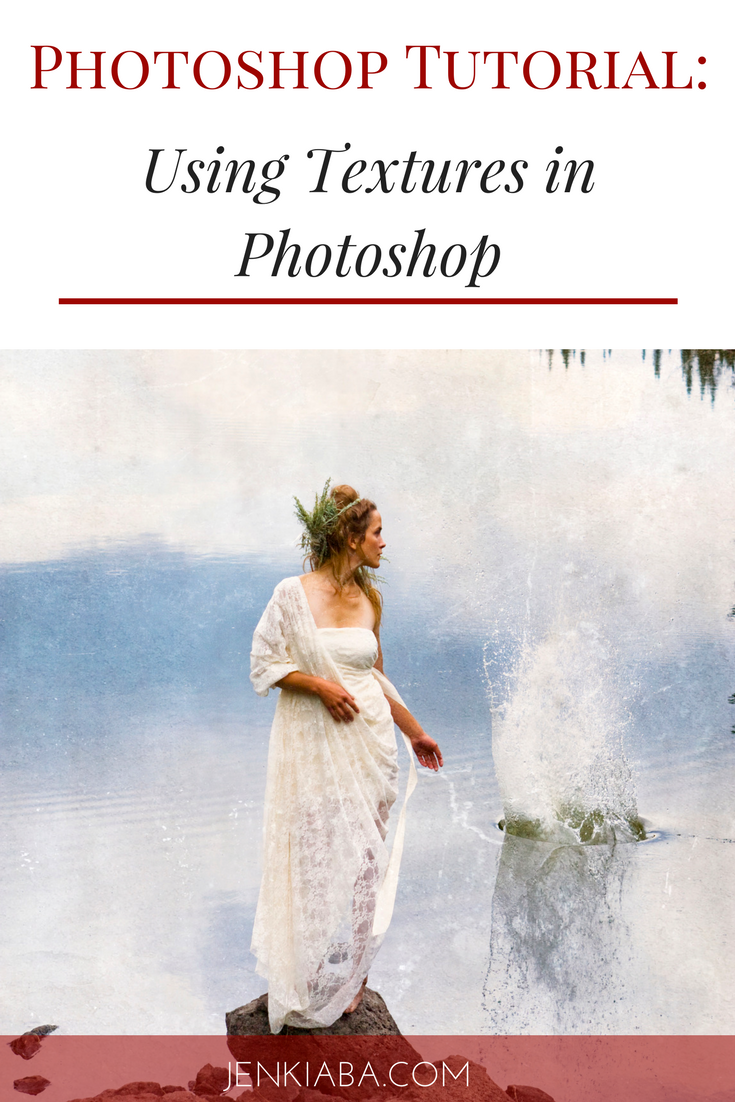
It's time for a quick & easy Photoshop Texture Tutorial!
Ever wondered how photographers get that gorgeous vintage or painterly effect on their images?
The secret is by applying textures in Photoshop.
If you follow me on Facebook, you know that I've had a Photoshop Texture Tutorial in the works for a bit to accompany the free Photoshop grunge textures that I'm gifting (grab them here!).
And, as promised, I've created the tutorial, especially for those who are wondering how to incorporate textures into the portrait and fine art workflow. It ended up being pretty long, so I've broken it up into bite-sized chunks.
You know, for easy digestion and what have ya.
This savory morsel kicks things off with some basics. If you've never used textures before, then this is for you!
I show you how to apply textures, change their blending mode, change the opacity, how to remove the color cast that they can create, and how to apply multiple textures to an image.
The next video will be talking about a couple of different ways that you can edit your textures so that they don't show up subject's skin.
I'll be back again soon with Part Two of this tutorial! Until then, happy creating!

I have a confession to make:
Do you know what my biggest difficulty in editing used to be?
Consistency!
I was all over the place with my editing. In fact I could have probably won an award for "Most Photoshop Actions & Lightroom Presets Used."
Unfortunately for both me and my portrait clients, that meant that my style was never cohesive AND it took me forever to edit a session.
Seriously, I would start form scratch every single time I started a new image, like I was reinventing the wheel.
Plus I had no signature "look." No one would have looked at my work and said "Ah, that looks like Jen Kiaba took that photograph."
And that's what we all want, right?